 FreeToolBox
freetoolbox.tech
Blog/remove-background-from-product-photos
Remove Background From Product Photos: The Seller's Complete Guide
freetoolbox.tech/remove-background-from-product-photos/Buyers can't touch your product, so your photo does all the convincing. Marketplace search results are a wall of thumbnails — and the listings that get clicked are almost always the ones where the product is big, bright and alone on a clean background. Here's the complete routine, from shooting to upload.
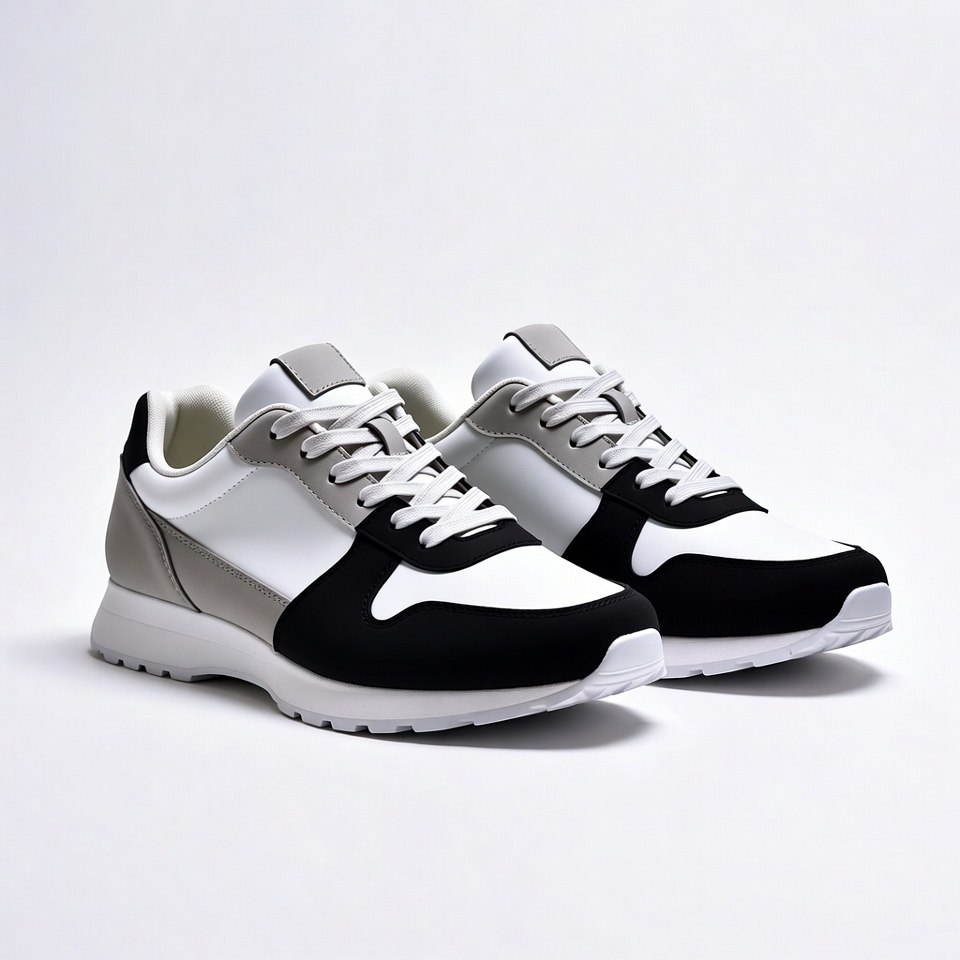
Why marketplaces reward clean backgrounds
Amazon requires a pure-white main image; Daraz, eBay and Shopify stores all reward the same look even when they don't require it. A white (or consistent light) background removes distractions, makes thumbnails readable at small sizes, and makes your whole shop look like one brand instead of a pile of random snapshots. It also hides the reality that you shot the photo on your bed — which is where most of us shoot it.
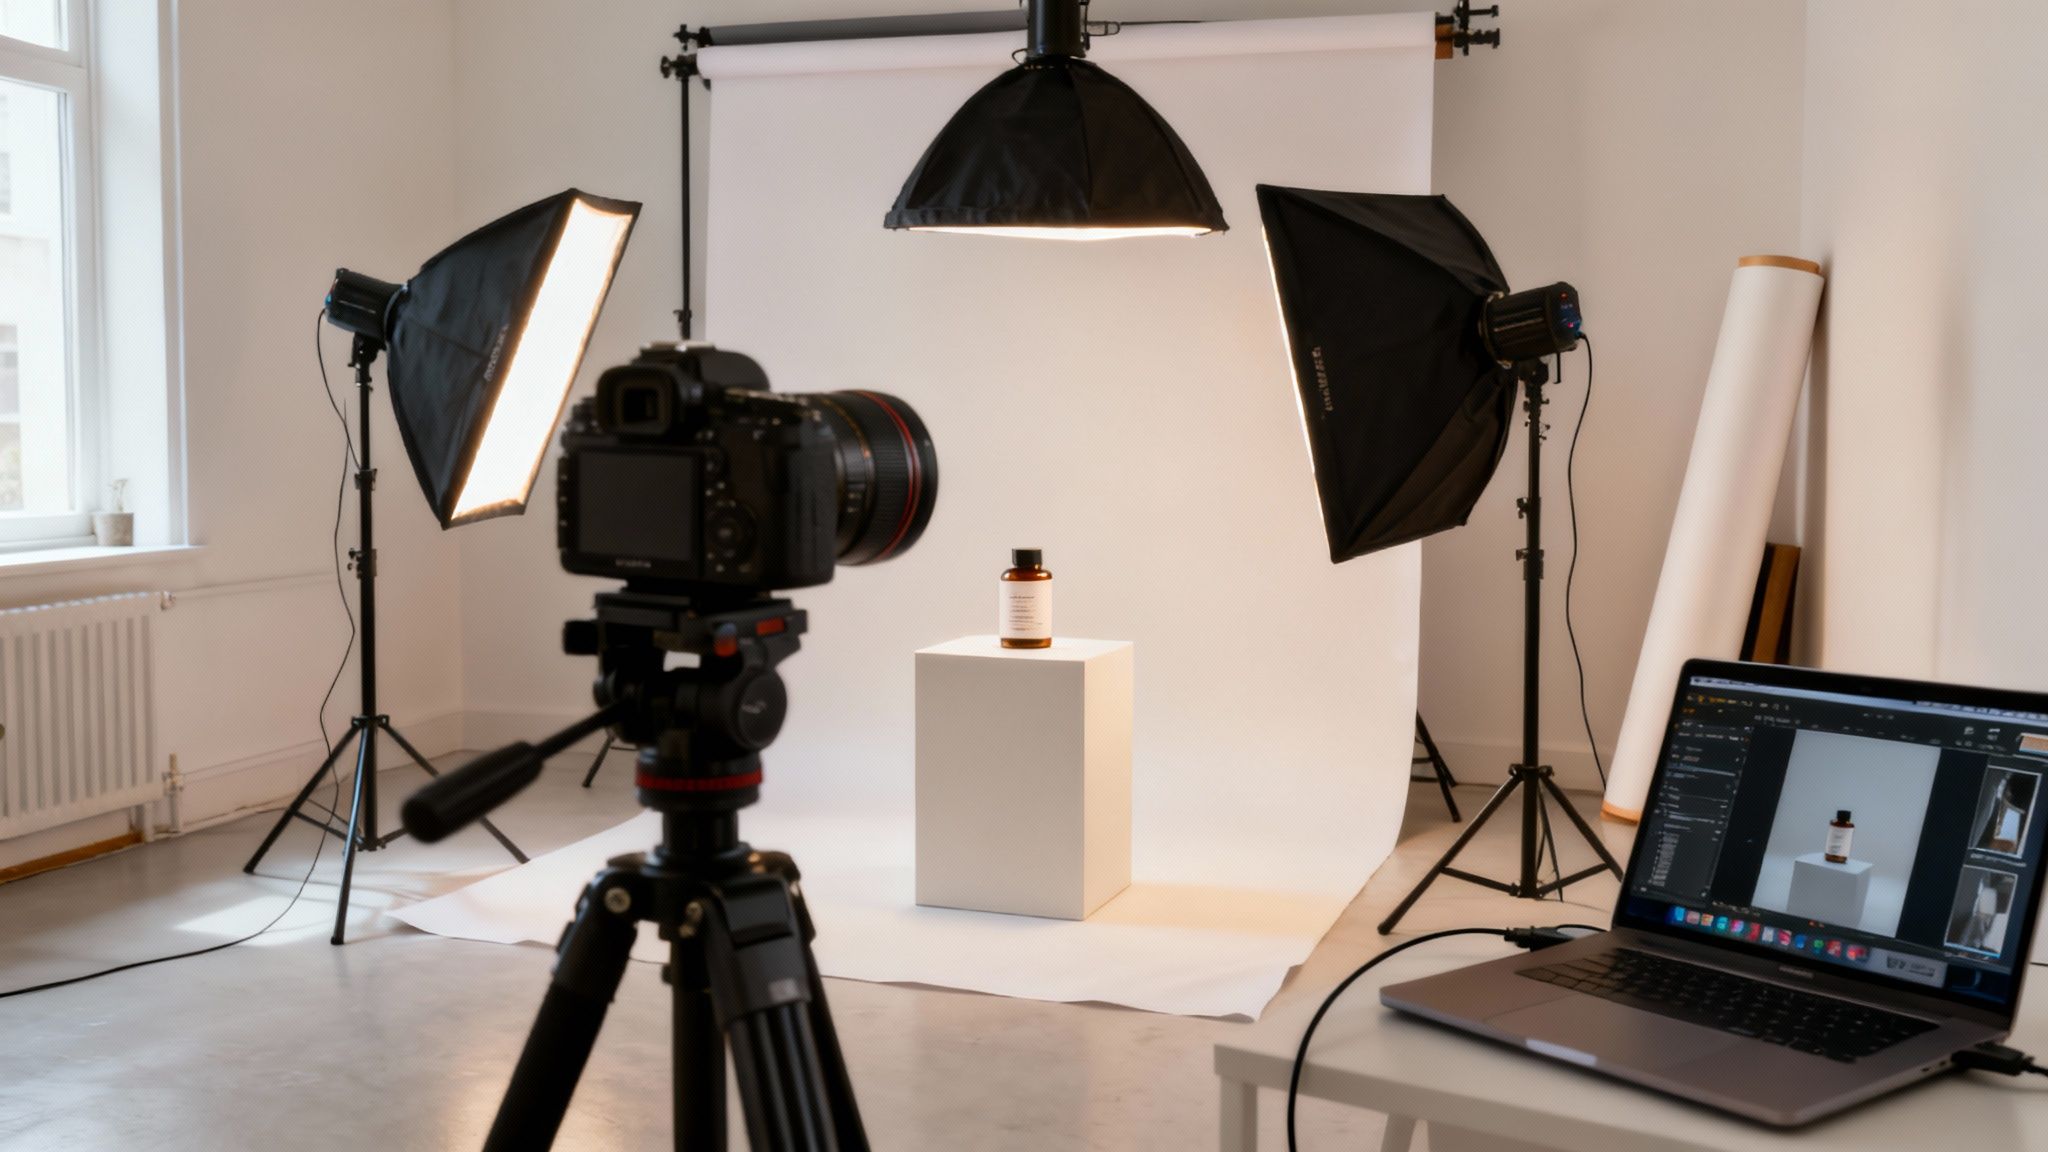
The shooting routine
- Shoot near a window in daytime. One product, plain surface, no other objects in frame.
- Fill the frame — the product should take up most of the photo, with a small margin on every side.
- Keep the setup identical for every product: same surface, same light, same distance. Consistency is what makes a small shop look established.
Remove the background, step by step
- Add the photo to the Background Remover at the top of this page.
- Let the AI cut the product out — stray background fragments are removed and edges tightened automatically.
- In the panel, choose the White background swatch for a marketplace-ready main image (keep “None” if you need the transparent PNG itself).
- Download the full-resolution PNG. Repeat with the same settings for every product — same background, same framing, same size.
- Add one lifestyle shot after the main image — the product in real use — for listings that allow multiple photos. Clean first, context second.
Notes by category
- Clothing & winter bundles (caps, gloves, mufflers): lay flat or hang against the plainest wall you have; a cutout fixes the rest. Fold lines and clutter behind the item are what make listings look second-hand.
- Food & dry fruits: shoot the pack and the contents side by side. On white, the colours of the product itself pop — that's your selling point.
- Electronics & gadgets: include the cable and accessories in the main shot, neatly arranged, so buyers see the full offer at thumbnail size.
Cost reality: you don't need a lightbox or a studio. A window, a plain bedsheet as the shooting surface, and a background remover get you 90% of the studio look for free — the last 10% is consistency across your listings.
Before you upload: the checklist
- Zoom to 100% and check the edges once. Rough? It's usually the original photo — re-shoot with more light and contrast rather than fighting the cutout (the 7 usual causes).
- Background pure white or your shop's one consistent colour — not a mix.
- Product fills the frame with a small, even margin.
- Same size and framing as your other listings.
- Format: PNG or JPG both upload fine once the background is filled — here's why.
Questions
Do I need a white background, or is transparent better for listings?
For the main listing image, white — that's what marketplaces display best and what Amazon requires. Keep the transparent PNG as your master file for your own store, social posts and future edits.
How many product photos can I process for free?
Unlimited, in this tab. Processing happens on your device, so there's no per-image credit — a full catalogue costs the same as one photo: nothing.
I'm switching from remove.bg — what changes?
Only the address. The workflow and the transparent PNG output are the same; see the remove BG alternative guide.
Turn your next product photo into a listing photo.
Open the Background Remover